Getting Rolling with the Cage
Installing a roll cage is really not very easy at all. Metal is NOT forgiving. Welding is NOT forgiving. The phrase “measure twice and cut once,” really holds true here.
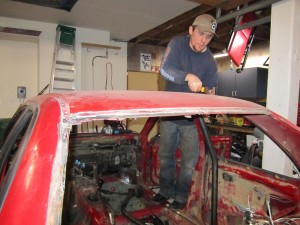
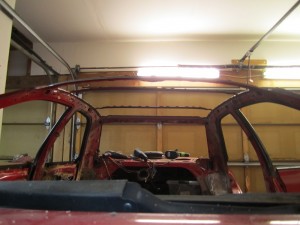
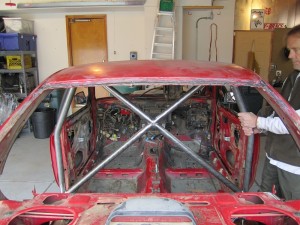
When you weld a rollcage, you need to get complete 360 deg. welds all the way around each joint. Along the roof, this is really impossible. One thing you can do is cut holes in the floor of the car, allowing the cage to be lowered enough to weld the top. I can’t do this because I chose to have the legs of the cage mount tight against the pinch welds of the chassis. It is a much stronger mounting point than the floor. So the second way to reach the top welds is to take off the roof. And that is what I did!
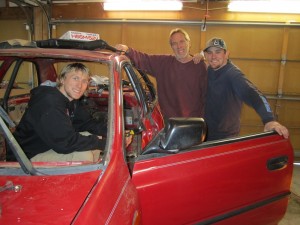
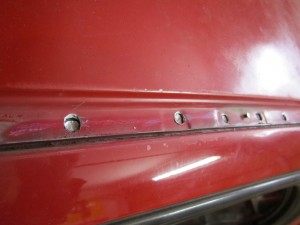
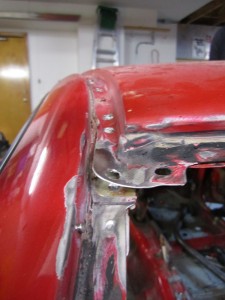
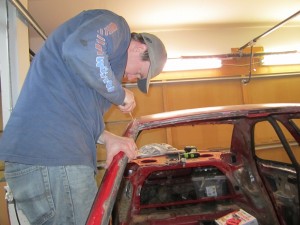
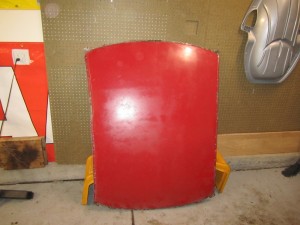
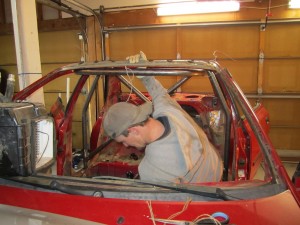
I started by having the front and rear windows removed. Then I used a wire wheel to remove the paint and sealant gunk. Finally, with the 5/8″ drill bit, I drilled out about 100 spot welds, and used a chisel to seperate each weld thoroughly. I say that “I” did it, but I really had the help of my Dad and brother. Without them, some of this work would probably make me mentally unstable.
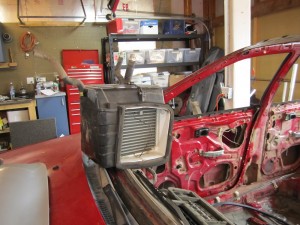
With the roof off, I decided to slap in some floor plates and then weld in the cage! Easy? Ya, no. Not easy. Let me start off by saying that a car’s sheet metal is very thin. If I were to weld the legs of the roll cage directly to the sheet metal, it would just punch through in a roll-over, making the cage useless. Therefore, I have to weld 1/8″ steel plate in to spread the load out. With the unique contours of the cars sill area, this was a bit of a challenge. It took me a solid weekend and one evening during the week just to get the front plates welded in. I am not happy at all with the LOOK of the welds, but I know that they are very strong. As it turns out welding on metals of different thicknesses takes skill. A skill I had to learn on the fly. I did find that it was easier to access the area if I removed the heater core. What’s 3 more bolts when the car is already in so many pieces?
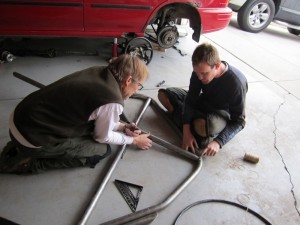
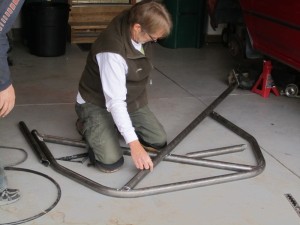
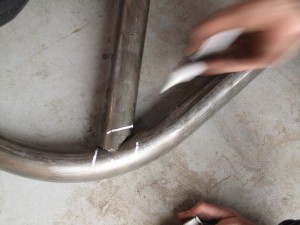
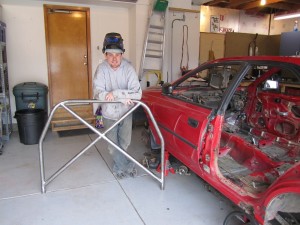
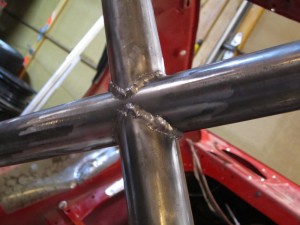
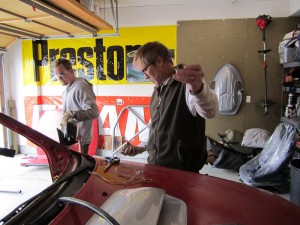
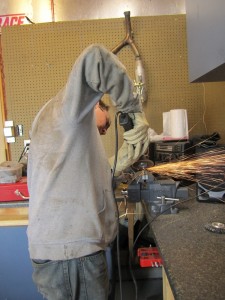
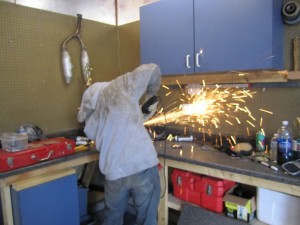
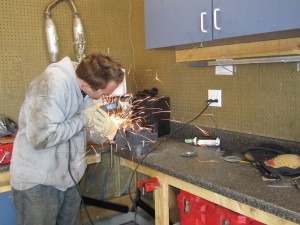
After getting those done, I needed a “break” and decided to have my trusty father come down and help me with the main hoop cross bracing, a-pillar up tubes and roof halo. Once again, it turned out to be a lot more difficult than I expected. It is damn hard to cutting round tubing at a specific angle so that it correctly intersects another round tube, while ensuring proper overall length. Here is what that process looked like:
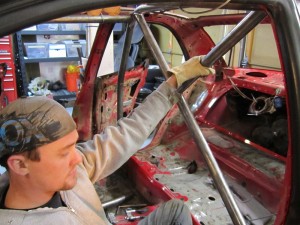
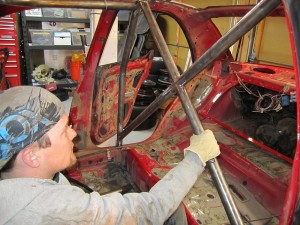
Once the main hoop was done, we returned it to the car to begin test fitting. It didn’t take us long to discover that trying to line up all the various tubes, and keep it straight, level, square, parallel, and perpendicular is HARD! After about 30 mins of that, we decided that getting the rear floor plates in place was going to be helpful in determining the final fitment. So with a basic idea of where the main hoop is going to meet the floor, I went back to cutting and welding. My dad worked on finding the centerline of the main hoop and roof halo, and started grinding the sheet metal where the floor plates would weld to it.
With the floor plates all done, we were done. It’s fun, but it is also a lot of work. I am sore all over from holding heavy steel, welding in strange positions, and grinding and grinding, and grinding.
Next weekend, hopefully, I can start actually welding the main hoop, a-pillars and roof halo in place. If I wasn’t so tired right now, I’d be really excited!
And as always, Dad and Travis, thanks for all of your help!
5 Comments
Leave a Reply
You must be logged in to post a comment.

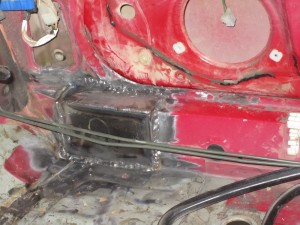
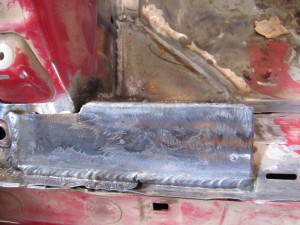
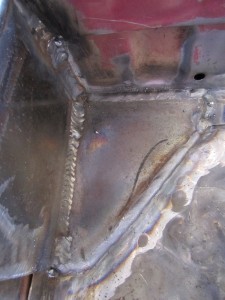
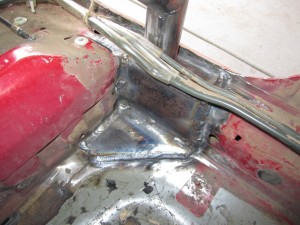
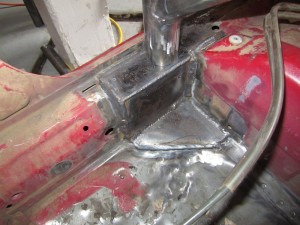
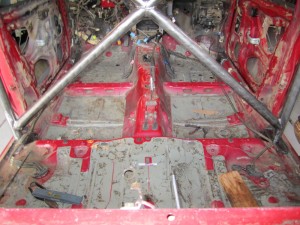
I like the way that you did your floor stiffeners.
Thanks! At the recommendation of Jim from Rollcagecomponents.com, I chose to mount the cage as close to the pinch welds as possible. He noted that the pinch weld/door sill is much stronger than the floor itself, so its a good structural location.
I did make the floor plates long with the door sill bar in mind. I wont explain it in detail until I have pictures, but it should be pretty major in adding strength.
I agree Andy, I am going to do the same thing for the main hoop in
my XJ Cherokee. Are you going to weld plates to the door sills and floor, (in an “L” shape), to locate your front downtubes for the top halo? That seems like the stiffest way to go. Brie
Im not sure I know what you are saying, but the a-pillar down tubes are already welded to plates. Those plates are an inverted L shape. So I think my answer is yes. I also hope to weld some steel to in place to tie the sill tube to the door sill itself. And since the main hoop is behind the b-pillar a ways, I am going to weld a gusset from the b-pillar to the sill tube and door x-brace.
Andy,
Those are some nice photos, have you had a chance to get any more done, or has “life” gotten in the way? The prgress on my XJ comes in fits, and starts. Sometimes I am pleased with the progress, and then others, the car just sits for a week, while I take care of problems here at the ranch. Brie